Best Dumpsters for Renovation Debris by Project
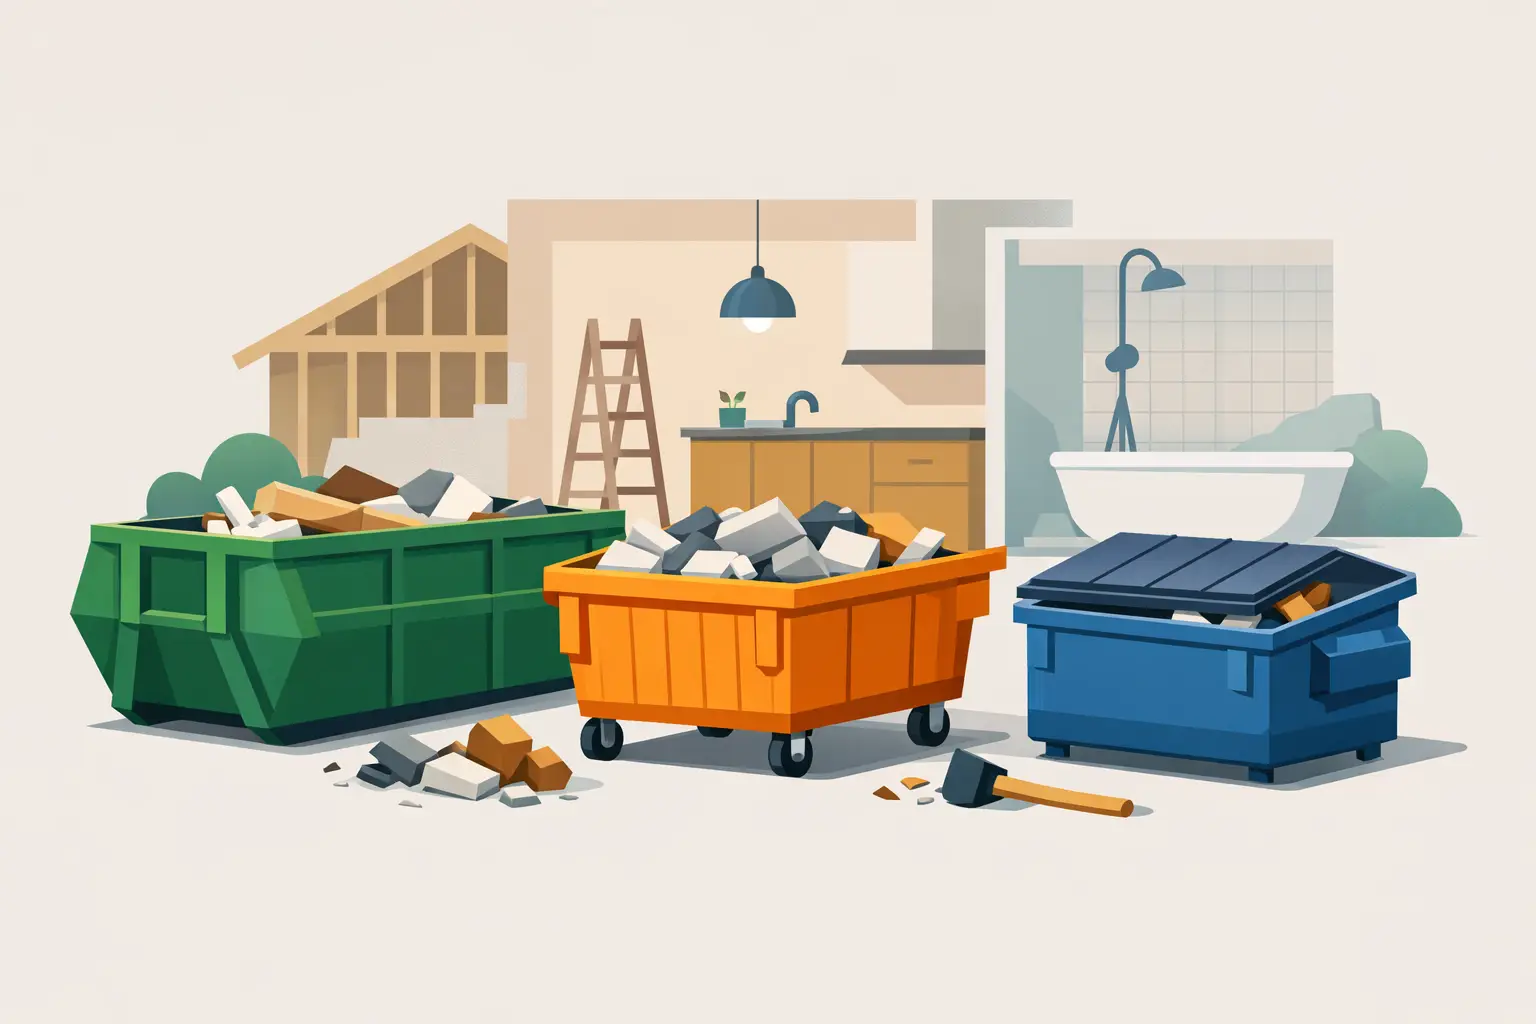
A renovation can look under control on day one, then fill a driveway with torn-out drywall, old cabinets, carpet, lumber, and boxes before the weekend is over. Choosing the best dumpsters for renovation debris keeps the work area safer, the schedule moving, and the cleanup from becoming a second project.
The right dumpster is not always the biggest one available. It is the container that fits the type of debris, the scope of the work, your driveway or jobsite, and the rental period you actually need. For homeowners, landlords, contractors, and business owners around Toledo, a little planning upfront can prevent an overloaded container, extra hauling costs, or a debris pile that sits too long.
Best Dumpsters for Renovation Debris: Start With the Material
Renovation debris takes up space quickly, but weight matters just as much as volume. A bathroom remodel may create a modest pile of drywall, vanity pieces, flooring, and fixtures. A kitchen demolition can produce bulky cabinets, countertops, appliances, and packaging. A full-home renovation may involve several types of debris moving out at once.
Light, bulky materials such as carpet, insulation, cardboard, wood trim, and empty cabinets often need more container space than people expect. Dense materials such as concrete, brick, dirt, tile, plaster, roofing shingles, and heavy countertops can reach weight limits long before the dumpster looks full.
That difference is why a single dumpster size is not right for every project. Be clear about what you plan to throw away when requesting a quote. A dependable rental provider can help match the container to the debris and explain any weight allowance before delivery.
Match Dumpster Size to the Renovation Scope
Dumpster capacity is usually measured in cubic yards. While exact dimensions can vary by container, the following ranges offer a practical starting point for most renovation cleanouts.
Small remodeling projects
A 10-yard dumpster is often a sensible choice for a single-room refresh, small bathroom demolition, garage cleanup, flooring removal from a limited area, or a modest landscaping-related cleanup. It can handle a meaningful amount of debris without taking over a smaller driveway.
This size is especially useful when the material is dense. If you are removing tile, plaster, concrete pieces, or heavy roofing debris, choosing a smaller container may help keep the load within its allowed weight. Do not assume a larger dumpster is always safer for heavy materials. The material itself may determine the right choice.
Kitchen, basement, and multi-room work
A 15-yard or 20-yard dumpster generally works well for a kitchen renovation, basement cleanup, several rooms of flooring, a deck removal, or a larger home cleanout. These sizes give homeowners more room for cabinet boxes, drywall, lumber, old furniture, and general construction waste.
For many residential projects, a 20-yard container is the practical middle ground. It provides enough capacity to avoid constant pile management while remaining manageable for most driveways. If you are tearing out a kitchen and replacing flooring in nearby rooms, this is often the range worth discussing first.
Large renovations and commercial cleanouts
A 30-yard dumpster is better suited to major interior demolition, whole-house renovations, estate cleanouts, office remodels, retail updates, or contractor jobs producing steady debris over several days. It can hold substantial volume, but it requires adequate placement space and a realistic plan for loading.
Large containers are a good fit when lightweight, bulky debris is the main issue. Drywall, framing lumber, carpet, insulation, shelving, and packaging can consume a surprising amount of space. If the project also includes large quantities of brick, concrete, soil, or shingles, ask about the best disposal approach instead of loading everything into one oversized container.
Do Not Overlook Access and Placement
The best dumpster on paper will not help if the delivery truck cannot place it safely. Before scheduling, look at the driveway, alley, parking area, or jobsite entrance. Check for low branches, power lines, parked vehicles, narrow gates, and soft ground that could complicate delivery or pickup.
A driveway is often the most convenient location for a home project because it keeps debris close to the work area. If surface protection is a concern, ask whether boards can be placed beneath the container. Move vehicles before the scheduled delivery window, and make sure contractors, family members, or tenants know where the dumpster will sit.
Street placement may require local approval, depending on the area and how long the container will remain there. This is worth confirming before the dumpster arrives, particularly for projects in busier neighborhoods or commercial areas. A quick check can save a frustrating delay.
Plan Your Rental Period Around the Work, Not the Demo Day
Most people focus on the day demolition starts. The better question is when the debris will be ready to leave. Renovations often create waste in stages: demolition first, then packaging, scrap materials, replaced fixtures, and final cleanup at the end.
A short rental works well for a defined project with a crew ready to load promptly. A longer rental may be more practical when you are completing work nights and weekends, coordinating several trades, managing a tenant turnover, or sorting through a home before a move. Paying for the right amount of time can be less expensive and far less stressful than rushing to fill a container before pickup.
Keep the dumpster accessible throughout the rental. Do not block it with vehicles, material deliveries, or equipment. When it is full, avoid piling debris above the rim. Overfilled containers can create unsafe transport conditions and may need to be leveled before pickup.
Know What Should Stay Out of the Dumpster
Standard renovation debris is usually straightforward, but certain materials require separate handling. Paint, solvents, gasoline, propane tanks, batteries, chemicals, asbestos-containing materials, and some electronics should not be tossed in without checking disposal requirements. Refrigerators, air conditioners, tires, and other special items may also need separate arrangements.
When in doubt, ask before loading. It is easier to plan for a restricted item than to sort through a full container later. This is also a good time to separate materials that may be donated, recycled, or salvaged. Old doors, usable cabinets, fixtures, and appliances do not always belong in the debris stream.
Get Better Value From Your Dumpster Rental
A dumpster rental is most cost-effective when the container is used efficiently. Break down cabinets and boxes when practical, keep loose debris inside the container, and load flat materials along the sides. Put heavier items on the bottom and use open space for lighter materials. This is not about packing a dumpster beyond capacity. It is about avoiding wasted air space.
Avoid mixing debris with household items that could be donated or removed through a separate hauling service. If your renovation is part of a move, downsizing project, or estate cleanout, coordinating hauling, storage, moving help, and dumpster rental through one local provider can simplify the schedule considerably.
For Toledo-area homeowners and businesses, Newcomer Movers offers locally owned, seven-day service for dumpster rentals along with hauling, moving, storage, and truck rental support. That kind of full-service coordination is useful when a renovation creates more than debris – it creates a deadline.
Choose Service That Makes Cleanup Easier
Price matters, but reliable scheduling, clear rental terms, and responsive communication matter too. Ask what size options are available, what debris is accepted, how weight is handled, how long the rental lasts, and what to do if your project timeline changes. A straightforward answer to those questions is a strong sign you are working with a provider that respects your time.
The right container gives your renovation a clean place for the mess from the first wall removal through final sweep-out. Choose based on your actual materials and work plan, leave room for the unexpected, and you can keep the jobsite clear enough to focus on the finished space ahead.